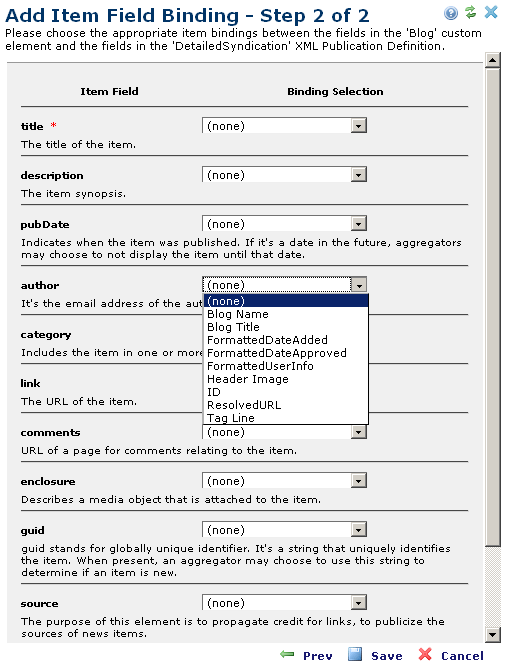
The Add Item Field Binding, Step 2 of 2 Dialog is the last step of the Item Field Binding procedure. In step one of the wizard, the Publication definition and Common Element in which the mappings are being created were specified. The example below displays the Blog Custom Element.
The labels in the Item Field column on the left (title, description, date, and so on) are derived from the Publication Definition you've chosen.
The choices available for the fields in the Binding Selection column on the right (see the drop-down menu in the screen shot) are derived from the Field Definitions in your chosen Element (Simple Text Block in this case). For each drop-down menu in the dialog, the available choices are the same.
For example, the choices available from the drop-down list to the right of author are the same as the choices available from the drop-down list to the right of description. When you click 'Finish' each field in your chosen Publication Definition is bound to a field from your chosen Element. The asterisks (*) indicate required fields.
There are several "special" fields provided that "consolidate" a few data parts from the Element. For instance, FormattedUserInfo represents the full name for the user who owns the Element. FormattedPublicReleaseDate represents the fully-defined date (for example, 2007-09-11 12:34:01) for the Public Release Date. Finally, each Element also has a "ResolvedURL" value that is used to get to the CommonSpot page where the content Element is located.
Related Links
You can download PDF versions of the Content Contributor's, Administrator's, and Elements Reference documents from the support section of paperthin.com (requires login).
For technical support:
